Montabi Synergy Tier List
Rank team engines—not single cards—in a roguelike where drafts and tames change every route.
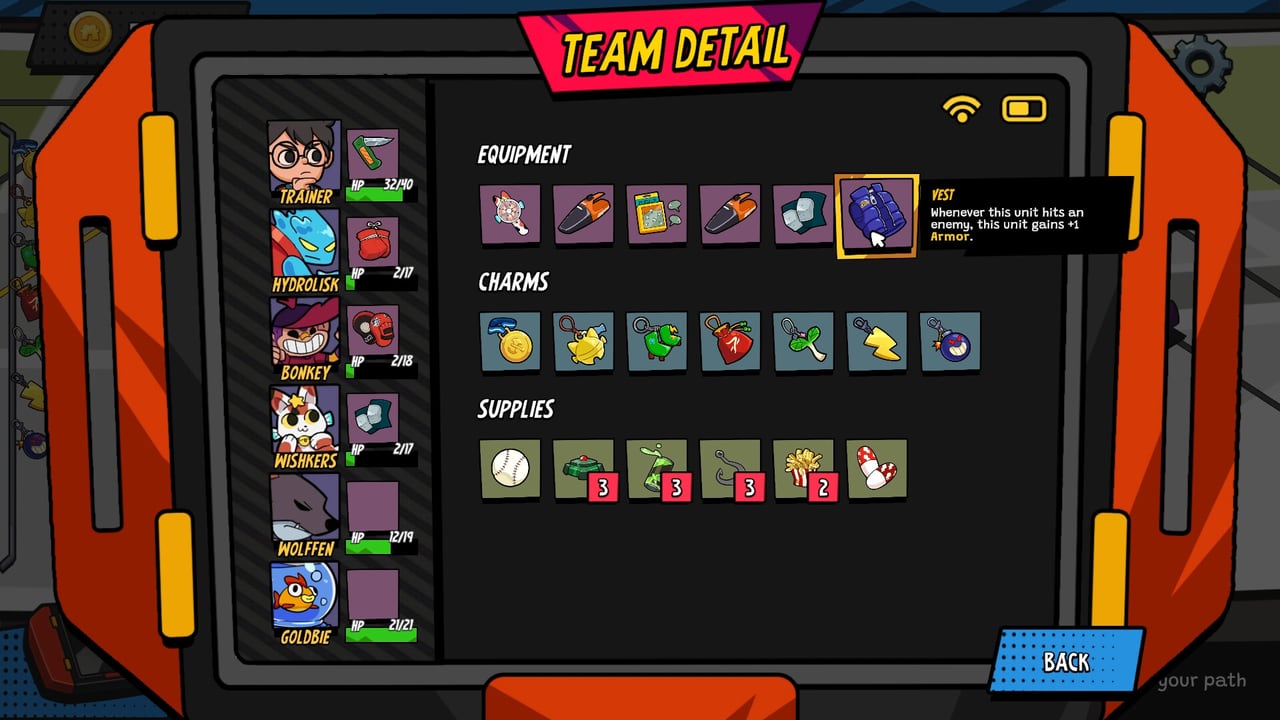
Synergy in Montabi is not “these two names always win.—It is **how two Montabi decks—and your Trainer—cover grid geometry, AP carryover, evolution spikes, and biscuit tames across a single-player run. This page tiers engines (movement, bleed, control, scaling buffs) that preview coverage and launch-week routes highlight, while admitting run RNG: you might never see the second half of a combo in a given draft.
Compare starter tiers for triple-draft value and the Tier List Hub for criteria. Trainer deep dives: Student, Fighter, Chef.
Synergy tier bands
S —Engine completes itself often: Needs minimal shop luck; works with two starters plus default evolutions; Trainer choice adds comfort, not mandatory glue.
A —Engine needs one enabler: Reposition card, Flavor turn, or biscuit tame—common but not guaranteed each seed.
B —Engine is fight-specific: Dominates one boss archetype, weak elsewhere; still worth knowing for X Gang targets.
C —Meme or unlock-limited: Fun clips, requires rare drafts or full account unlocks before stabilizing.
Letters describe consistency under RNG, not YouTube highlight reels.
S-tier synergy patterns (archetypes)
Movement + reposition leader
Tonkey-style movement payoffs plus Student reposition tools form the textbook S-pattern from official deep dives: each slide triggers self-buffs while the Trainer fixes row math. Fighter can substitute if a Montabi card pulls Tonkey through danger instead of Student slides; Chef is weaker here unless Flavor buffs movement payoff cards specifically.
Second slot: a frontline or range stabilizer so Trainer death rules do not end the run while Tonkey loops AP.
Bleed + forced movement
Ruffin bleed punishes enemies when they move; pairing with displacement (Student tools or Montabi pulls) creates an S-tier control damage engine on many seeds. Without movement, bleed drops toward A-tier—bosses that stand still neuter the dot plan.
Add Vem-style control only if previews match your actual tame; soda punishment themes reward enemies that already want to act.
A-tier synergy patterns
Resonance burst + cleanup DPS
Fighter Resonance plus a aggressive line like Kyuchi (fox swordfighter in previews) spikes when stances align, but AP spent on Trainer safety competes with Montabi finishers. Tier A because frontline mistakes end runs even when damage is high.
Flavor setup + scaler
Chef Flavor with Karabi noodle fantasy or other scaling lines sits A-tier: two setup turns then a burst. Falls to B on low-heal maps if cafes are sparse.
Control + stall
Vem plus a tank stabilizer is A-tier in elite fights, B-tier on speed routes where map timers or morale matter mentally even if the game has no hard clock.
B-tier: win-more, not win-alone
Double DPS without frontline, double setup without heal access, or bleed plus bleed without movement all land B-tier. They pop off when biscuits grant the missing role mid-run—document the tame, not just the starter names.
C-tier: high variance
Triple-glass teams, all-in Fighter stances with no heal evolutions, or Chef Flavor loops that skip block cards belong here for learning accounts. Veterans still stream them for content.
Trainer multipliers (synergy lens)
| Trainer | Synergies that rise | Synergies that fall |
|---|---|---|
| Student | Movement, bleed displacement | Slow Chef-style setup without buffs |
| Fighter | Melee burst, Resonance windows | Long bleed stalls while Trainer exposed |
| Chef | Flavor scalers, debuff control | Movement micro without payoff cards |
Biscuits, evolutions, and RNG honesty
Level 5 / level 10 drafts can create or break synergies: a bleed line without extra stickiness drops tiers when evolution whiffs. Biscuits after battles add the second engine piece—synergy tiers assume you tame toward holes, not only toward favorites.
Because Montabi launched 2026-08-06 with 60+ Montabi and 22 starter families, this list will grow as players map full card pools. Until then, we anchor on named preview examples—Tonkey movement, Ruffin bleed, Vem vending control, Kyuchi melee, Karabi meal flavor—without inventing numeric stats.
Building synergy mid-run (checklist)
- Identify your grid problem (row damage, column damage, single-target burst).
- Pick a primary engine from your three starters.
- Use biscuits toward the missing role, not duplicate engines.
- Align Trainer AP with setup turns—Chef and Student want planned carryover; Fighter wants shorter fights.
- Re-tier mentally after each evolution draft.
Cross-links
Starters, Tier List Hub, Trainers Hub, and trainer guides linked above.
Frequently Asked Questions
Quick answers to the most common Montabi questions.
Is Tonkey plus Ruffin always S-tier?
Movement plus bleed is S-tier when you can force enemy reposition; if a seed denies tools or bosses stand still, treat it as A-tier or lower for that run.
Do synergies depend on trainers?
Yes. The same two Montabi change bands when led by Student versus Fighter because AP and placement priorities shift.
Why list engines instead of every Montabi pair?
Run RNG prevents most pairs from appearing together. Engines describe repeatable strategies once tames and unlocks fill gaps.
Should I force synergies in the starter draft?
Only if the triple offers complementary roles. Forcing a combo without frontline or heal access loses runs before synergy starts.
Will this list update after patches?
Yes—criteria first, bands second. We note when changes come from community consensus versus confirmed card text updates.