Montabi Best Team Comps
Student, Fighter, and Chef routes—who leads, who carries, and what to buy between fights.
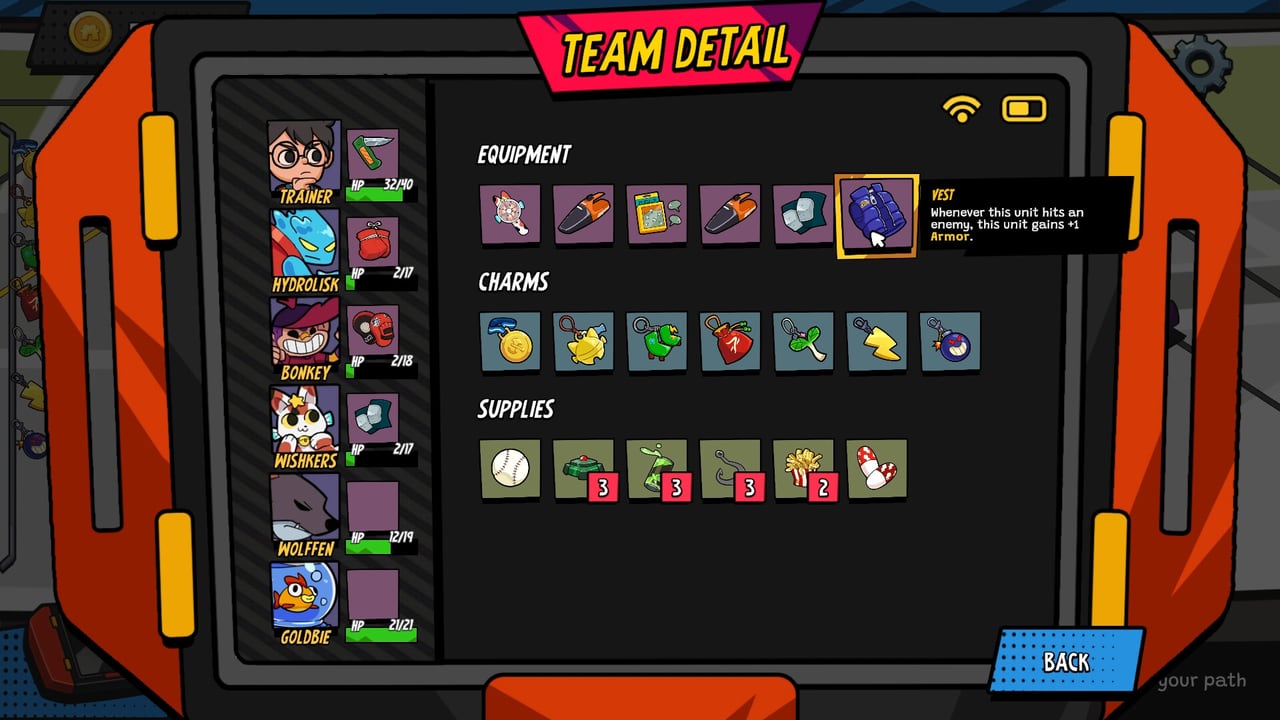
The “best team—in Montabi is never just three favorite creatures—it is a Trainer plus up to two Montabi whose decks, passives, and shopping route agree on a win condition. Runs end when your Trainer hits zero, so comps must protect the back row while still deleting elites before the map out-scales you. This guide names the three Trainer archetypes players talk about most—Student*, Fighter, and Chef—and shows how to pair them with captures, equipment, charms, and supplies or Stickards for consistent act clears.
Cross-check every suggestion with the live Tier list because patch buffs and biscuit capture RNG change who actually carries. When a Montabi jumps tiers, swap them into these shells without changing your Trainer identity.
Team size and roles
You field one Trainer and typically two Montabi. Roles break down as:
Trainer —chess-king positioning, passive aura, starting charm, and sometimes direct support cards. Never leave them exposed without a plan.
Primary carry —highest damage or status application; gets first equipment slot and priority Stickards.
Flex slot —secondary damage, capture synergy, or utility control that fixes bad map rolls.
Because slots are tight, bench depth matters less than capture quality. Use biscuits on fights where the tier list says the enemy Montabi completes your comp, not on novelty species that duplicate your starter kit.
Student teams: draw, setup, Innate engines
Student trainers excel when you think two turns ahead. Their starting charm identity usually rewards card flow, making them natural partners for Innate Stickards and draw-on-play stickers from the Stickards shop. Student teams win by assembling a hand then spending one explosive AP sequence—not by face-tanking every hit.
Shopping route: thin basic Punch cards at the Cafe early; buy one charm that reduces dead draws or rewards skill chains; sticker your setup card before your finisher; keep one food for misplays.
Montabi picks: prioritize units with cheap skills that apply debuffs or reposition allies on the 3×3 grid. Student comps can pivot into status builds when captures bring Bleed or Sour tools without sacrificing draw.
Common failure mode: hoarding cards for a perfect turn while the Trainer eats a boss combo. Bank AP wisely and spend supplies to stabilize.
Fighter teams: tempo, melee, AP stickers
Fighter trainers push aggressive positioning. They reward getting into adjacent tiles, spending AP on attacks every turn, and ending fights before sustain matters. Equipment on the lead Montabi should boost raw damage or mitigation in the front row; charms that grant bonus AP or reward movement keep tempo high.
Shopping route: convenience store equipment on your bruiser first; Stickards that add extra AP on play on your cheapest reliable attack; baseball supplies for ranged finishers when enemies kite; fewer charms than Student unless a Gotcharm offer is obscene.
Montabi picks: melee range attackers with push or pull effects synergize with movement builds. Capture replacements that add multi-hit skills beat single-shot glass cannons when elites gain block.
Common failure mode: chasing kills while the Trainer stays forward. Step back after commits; Fighter passives do not excuse king exposure.
Chef teams: sustain, food, long wars
Chef trainers shine in attrition. They pair with food supplies, healing charms, and equipment that raises effective HP on the Trainer or lead Montabi. Chef is the forgiving beginner comp because mistakes become recoverable if you stock pantry items at the convenience store and visit the Cafe before bosses.
Shopping route: buy food bundles early; energy drinks for planned revive turns on boss fights; charms that amplify healing or reward multi-turn combats; Stickards on efficient damage cards so fights end before you run out of supplies.
Montabi picks: units with guard or self-shield effects cover Chef while you spend AP on setup. Chef can still run status effects if captures bring Spicy or Sour, but sustain must stay online.
Common failure mode: treating Chef as infinite healing without damage. You still need sticker-defined finishers or elites outscale your pantry.
Hybrid comps that still work
Status Student —draw into debuff chains, then supplies for control. Requires tier-list Mons with both draw and status cards.
Movement Fighter —push enemies into mines and baseball finishers; see Movement builds for grid detail.
Chef plus capture rush —stabilize with food, then swap flex slot mid-act when a S-tier biscuit target appears.
Hybrids fail when you buy charms for two axes at once. Pick one win condition per act.
Item priorities by Trainer
| Trainer | First buy | Second buy | Skip early |
|---|---|---|---|
| Student | Cafe thinning | Innate Stickard | Random vending |
| Fighter | Front-line equipment | AP Stickard | Extra charms |
| Chef | Food supplies | Healing charm | Glass equipment on Trainer |
Full shop context lives on the Items Hub. Trainers pages document passive text when you need exact wording.
Boss and elite checklist
Before major fights: Trainer on a safe tile, food or drinks in inventory, carry Montabi stickered, equipment not on a soon-to-be-replaced capture, and AP banked if your comp relies on openers. After fights, spend biscuits only when the new Montabi fills a named role in this guide.
Where to specialize next
- Builds Hub —hub overview and video reference
- Movement builds —positioning detail
- Status builds —Bleed, Sour, Spicy
- Guides Hub —first-run flow
- Charms and Equipment —item deep dives
Frequently Asked Questions
Quick answers to the most common Montabi questions.
How many Montabi can I field at once?
You typically fight with your Trainer plus up to two Montabi. Plan comps around three active roles, not a full party of six.
Is Chef or Fighter better for a first win?
Chef is more forgiving thanks to food and sustain supplies. Fighter kills faster once you understand grid positioning and AP banking.
When should I use a Montabi Biscuit?
Use biscuits after fights where the enemy Montabi fills a missing role in your comp and ranks well on the tier list—not on every random species.
Do Student teams need Stickards?
Not strictly, but Innate and draw Stickards align strongly with Student card-flow identity and are often your highest-ceiling purchase.